How to Transcribe Your Content For Free
A quick and dirty way to make your content more accessible and SEO-Friendly without spending a dime.
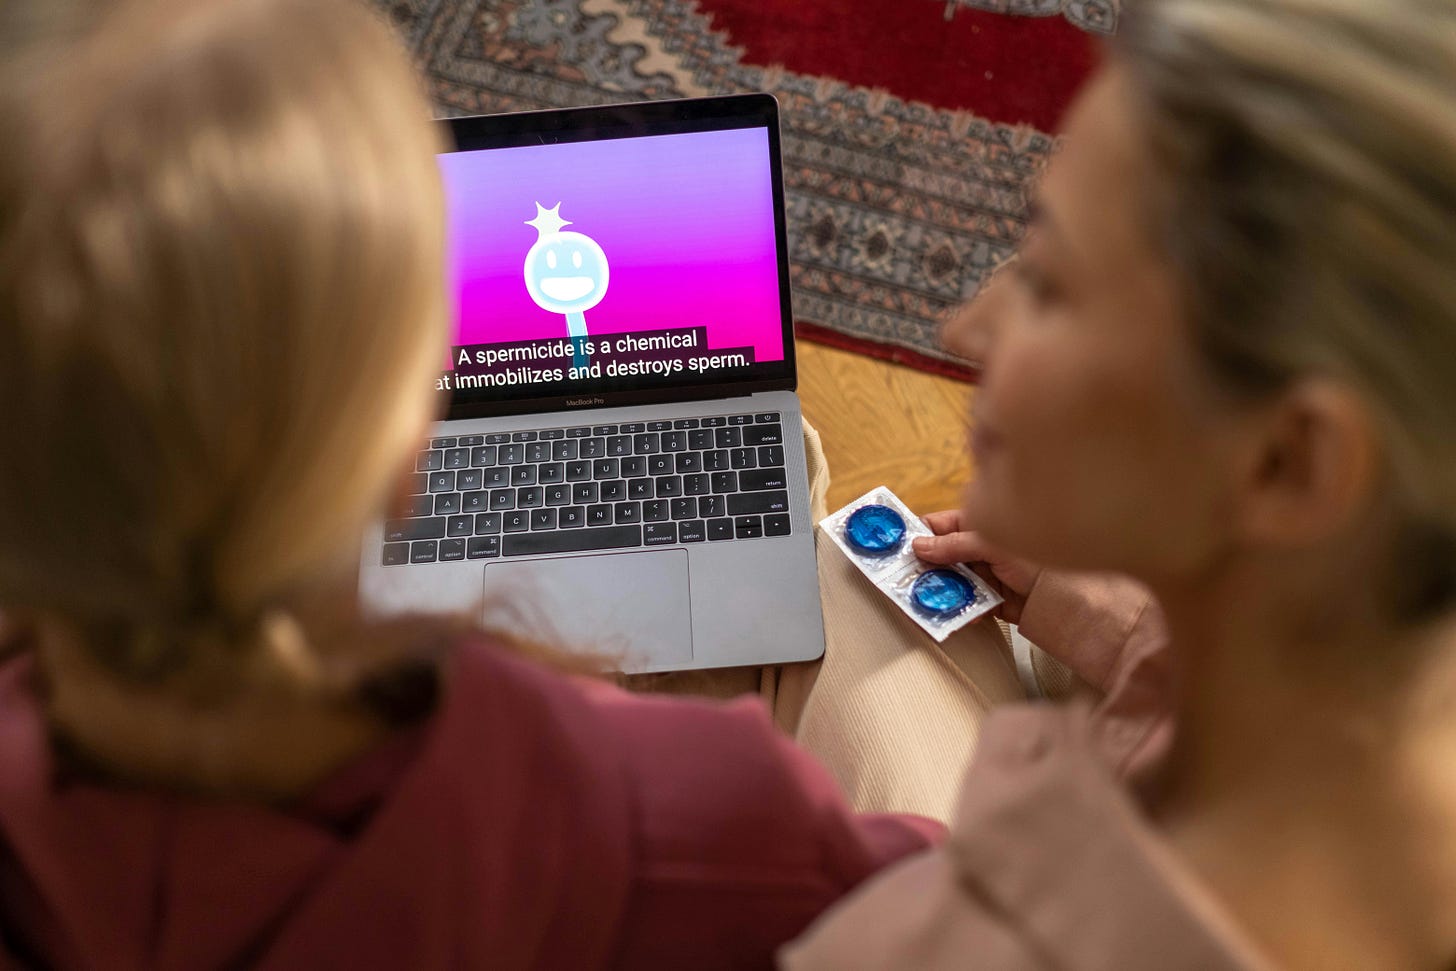
If you’re publishing content on YouTube or a podcast platform like Apple or Spotify, you get the ability to add captions to those platforms. That makes it accessible for disabled audiences and SEO-friendly.
Many people rely solely on auto-generated AI captions created by those platforms. The problem is those captions are often full of mistakes, especially if your content is about fictional things and uses fictional terms that are not regular words in the English language. By adding your own captions, you ensure the content is indexed correctly on Google and that disabled audiences enjoy it, too.
Yesterday was International Disability Day, the perfect opportunity to consider making your content more accessible to people with disabilities.
In this article, I’ll show you how to generate your own subtitles without paying for them or spending a lot of time typing them so you can make your content more accessible.
If you’re ready, let’s dive into it!
Step 1) Upload Your Video to YouTube
Hear me out before you stop me and say you aren’t publishing on YouTube. Your video could be private.
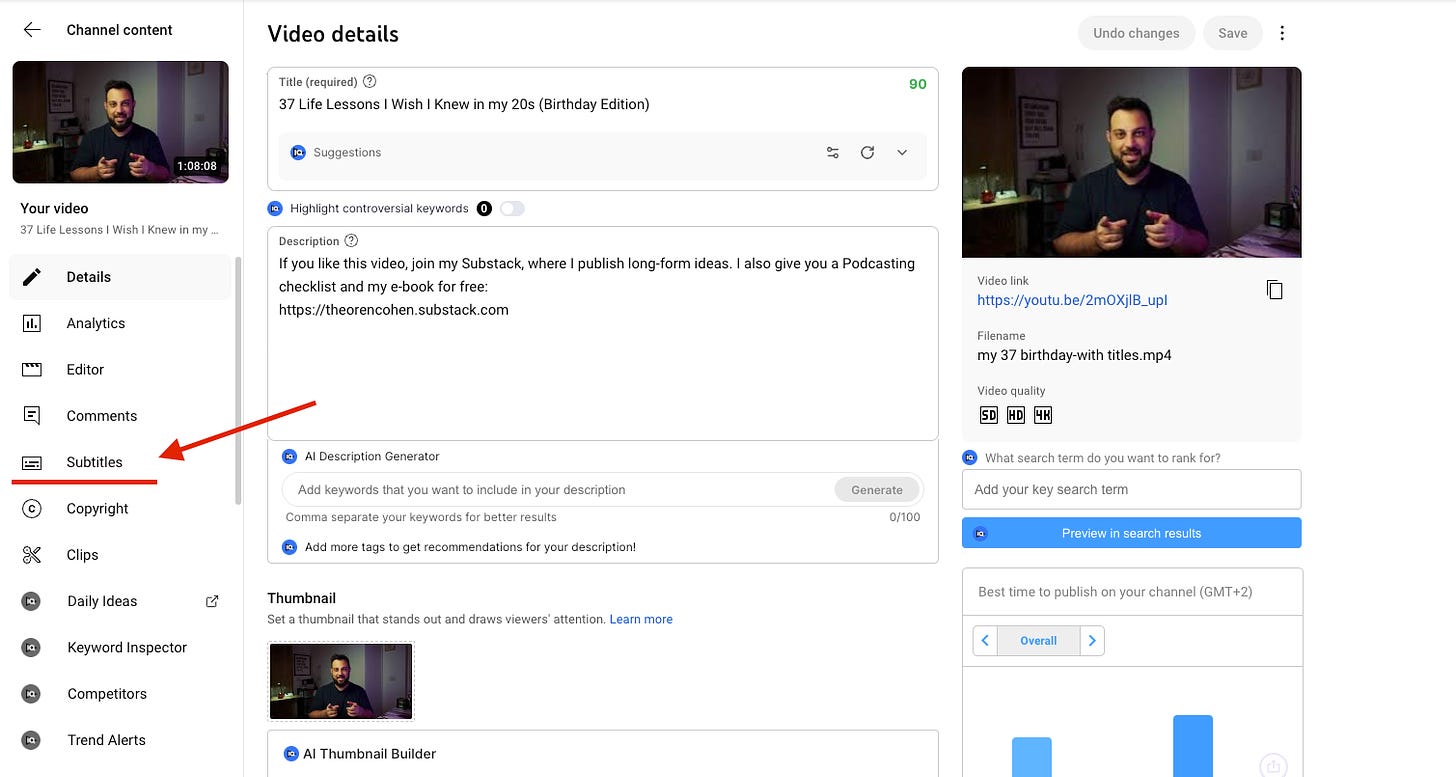
Once you finish uploading it and let it process for a while, you must publish it as either Private or Unlisted. That way, you remove it from draft mode and don’t share it with the world. When editing the video, you’ll see this menu on the left side, and one of the options is Subtitles. Click on it.
Step 2) Duplicate The Auto-Generated Captions
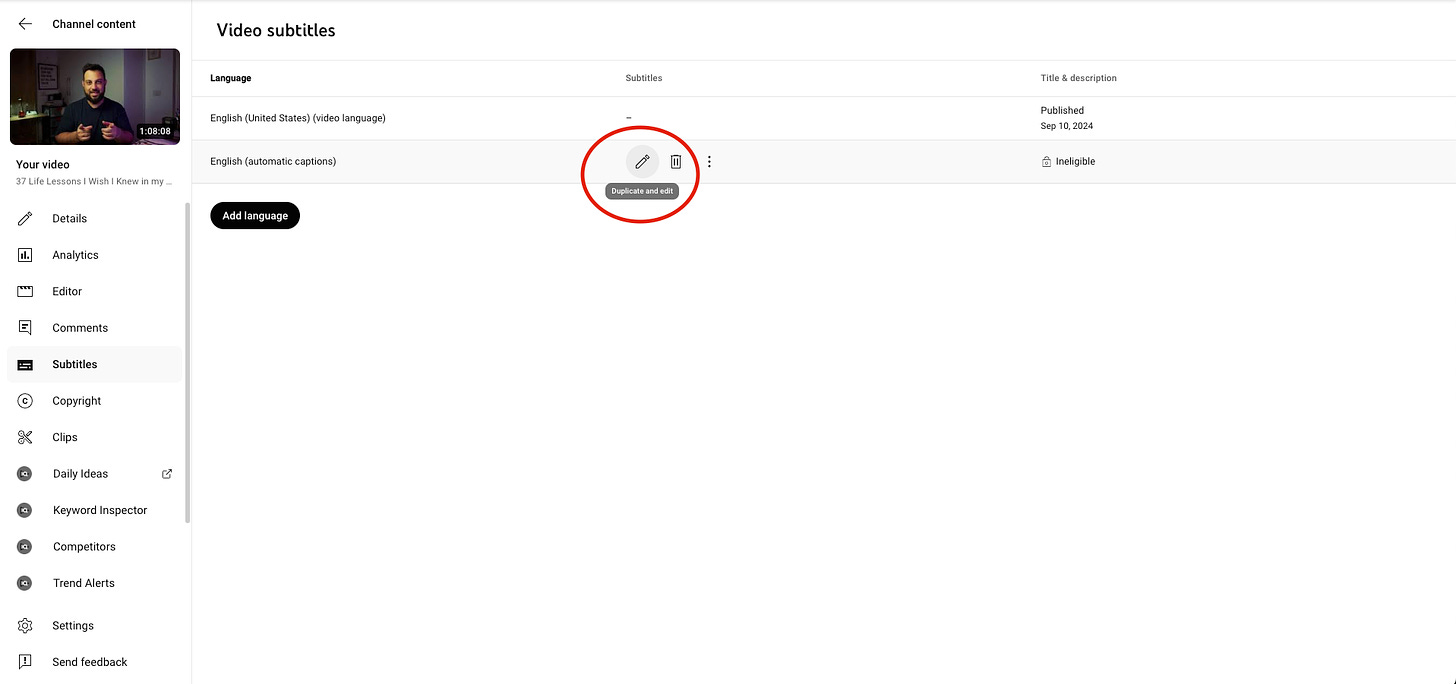
From there, you’ll see this screen. Click the edit button next to the “automatic Captions” to duplicate the auto-generated ones.
Step 3) Fix Mistakes in The AI Captions
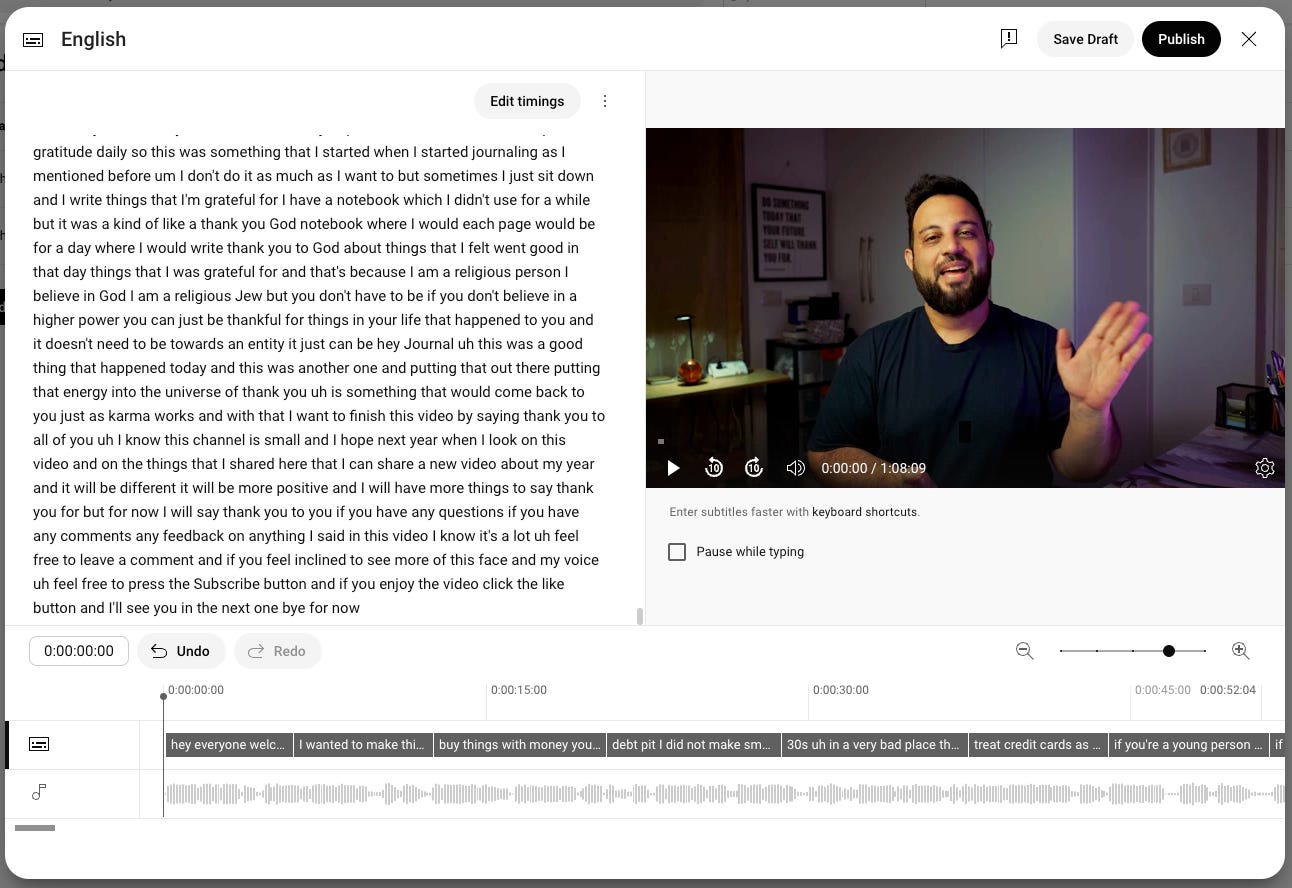
The duplicated captions will probably need some fixing of typos and mistakes. This will be the bulk of the work here. The good news is that you already have a good base to work with.
Most of the mistakes would be around fictional terms or when the voice was unclear. You’ll need to play the video until the end to ensure everything looks good. That’s all there is to it.
Step 4) Save and Download to Use Elsewhere
Once you have corrected all mistakes and typos, click publish to return to the previous screen. The new subtitles will then appear in addition to the automatic ones.
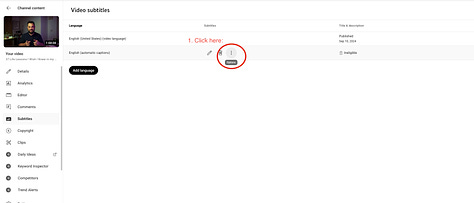
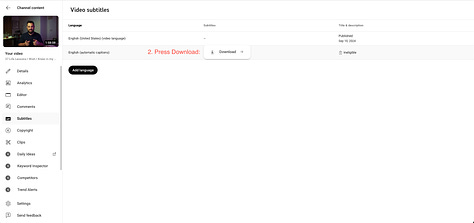
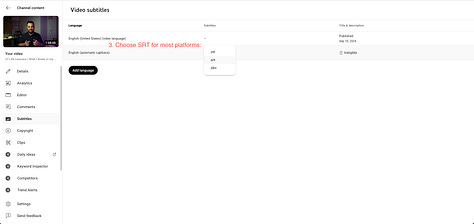
Now, you can click on the three dots to download the subtitles and use them wherever you want. You can download an SRT file to upload the subtitles to your podcast host, or copy the text from within the edit screen (without timestamps) to repurpose it for a blog post or whatever else you decide.
That’s It! You Made The World More Accessible
Here’s the whole process: we uploaded the video to YouTube, let YouTube use its AI to create auto-generated captions, duplicated and fixed them, and published them or downloaded them to use elsewhere.
I hope this little guide helped you make your content more accessible and SEO-friendly. If you have any questions, let me know!
See you in the next one!


