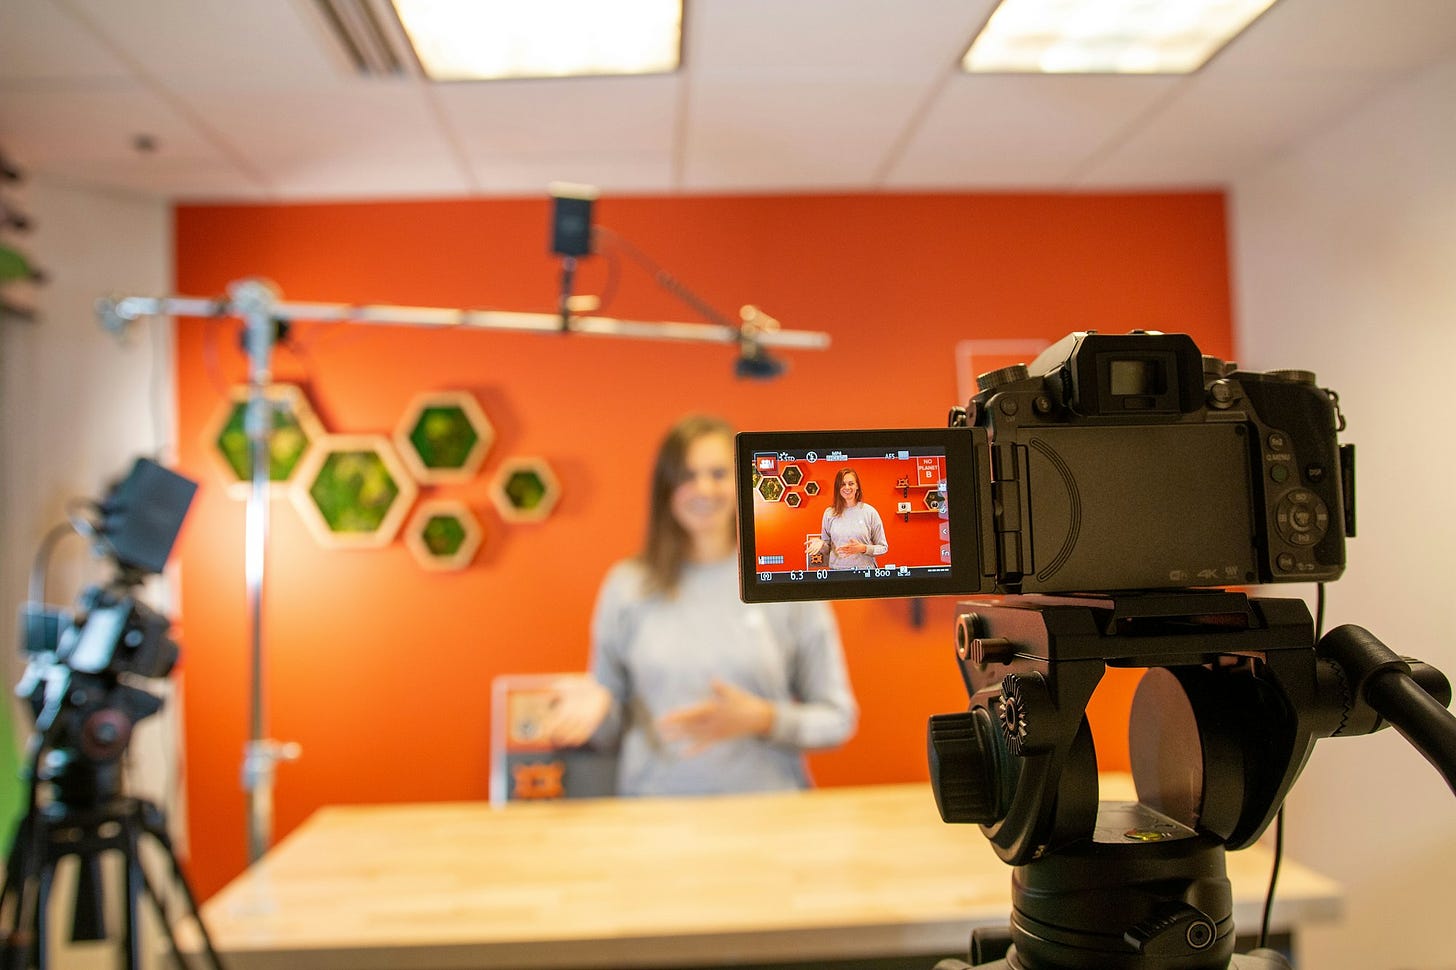
In today's post, I’ll walk you through the setup that works for me for Podcast Interviews and YouTube videos. Once you set this up, you’ll be producing content in no time!
Let’s dive in!
You Don’t Need to Go Crazy About Lighting
In the early days of making videos, I did not have lighting. I used my room’s Fluorescent light. That had to be enough. If you can’t afford lighting, that’s OK. You don’t have to wait until you do. You’ll make some crappy videos first, and you’ll upgrade later. Give it time.
The lighting I use is just basic lighting I found on Amazon. You don’t have to buy professional-grade lighting to get good lighting. I will upgrade when I can afford it. For now, I’m using what I can, as should you.
Use The Microphone You Have
Did you know the microphone on your smartphone’s headphones is really high quality? If you had to use a microphone and can’t buy one, I would suggest using those for the beginning.
If you don’t have headphones that’s fine too. In the video above, when I move to the smartphone recording, that audio is captured by my iPhone. No extra microphones. If your phone is modern enough it can truly be all you need to start making content.
I started with my laptop’s awful microphone, and only later, when I felt I could afford it, I upgraded to a professional microphone that I still use today. Don’t do that if you can’t afford it. Start with your smartphone.
And speaking of your smartphone…
Your Smartphone’s Camera is Good Enough
One of the things that annoyed me at the beginning was how awful my video looked. Compared to today, it’s a world of difference. I still think there’s room for improvement.
Only later in my journey have I upgraded to a DSLR. And even then, I bought one I could afford. But when you dive into this world You learn there are some expensive cameras out there.
The funny thing about smartphones is we use them to take some amazing photos. But did you know an iPhone could produce 4k video? If you don’t have one you don’t have to go buy one. It’s just an example to show you that if you’re phone is from the last 3-4 years, you probably have a very good camera.
You only need a tripod on which to put your phone so you don’t have to hold it.
Once you dive into the world of video, you’ll think, wait, there’s 4k video?! I gotta make 4k! You don’t. Let’s talk about it next.
Forget About 4k For Your First Videos
4K video is a relatively new way to watch crisp videos. Many TVs already support 4k today, and a handful of TVs support 8k.
But even if you have a 4K TV, it could still show 1080p content. In addition, many high-end phones have 4K abilities, but if you have a cheap Android like millions of people around the world, chances are you can’t enjoy 4 K on it.
So, aim for 1080p. You don’t have to invest in 4k, which takes a lot more space and time to edit and render. 1080p videos are much smaller in comparison.
Later, when you have a DSLR and want to produce 4k videos so people can see the wrinkles in your face, sure, do that. You don’t have to do it as a beginner content creator.
Learn Editing With What You Have
An enthusiastic content creator will immediately think: oh, I need premiere pro! Oh, I need Camtasia, oh, I need a pro editor!
All of those are optional. If you start with no budget, learn editing on your own. You don’t need fancy software.
Did you know a Mac has free editing software? It’s called iMovie.
Windows has a free editor that comes with the latest versions of Windows 11. If you want something more professional, there’s Davinci Resolve, which has a free version. All of those options will take you some time to learn, but it’s well worth it. Even if you do have the resources to pay a professional editor from day one, I still encourage you to learn editing. It will help you develop your own video style.
Only by editing my own videos did I learn how I wanted my podcast episodes to be structured. When I brought my editor in early 2022, I knew what I wanted, and he freed my time to make it happen faster and better.
I used Camtasia in the beginning and still do for the videos on my personal channel. It’s only getting better each year, and I love it.
If you go with an editor, that’s fine too. Remember: A video editor should amplify your vision, not create it from scratch.
What Next?
The next logical step is to start producing videos. You probably have some ideas floating around in your mind. If you’re reading about equipment, you probably know at least one video idea that you want to tackle.
It’s not enough.
You’ll need to generate ideas and think about how to build a system to record those ideas when they come to you.
Ideas are fleeting, you see. You have it one second in your head, and it takes a moment of distraction to lose it forever.
So, if you have a physical notebook and you don’t take it to your work, that’s a whole workday where you could generate and lose ideas.
I’ve been through that as well. Feel free to join if you’re reading this but are not subscribed. I will cover ideation and what worked for me. My methods might not work for you, but they work for my brain. Whenever possible, I’m also trying to send you to other sources where you can learn more.


